
Greetings, fellow enthusiasts of enhanced hygiene and comfort! Today, I’m thrilled to guide you through a seamless bidet installation on your tankless toilet, unlocking a new realm of refreshing cleanliness.
In this guide, we’ll carefully navigate the steps, ensuring a successful upgrade that harmoniously merges convenience and innovation.
So, let’s embark on this journey together, empowering you to elevate your toilet experience while embracing modern advancements in personal care.
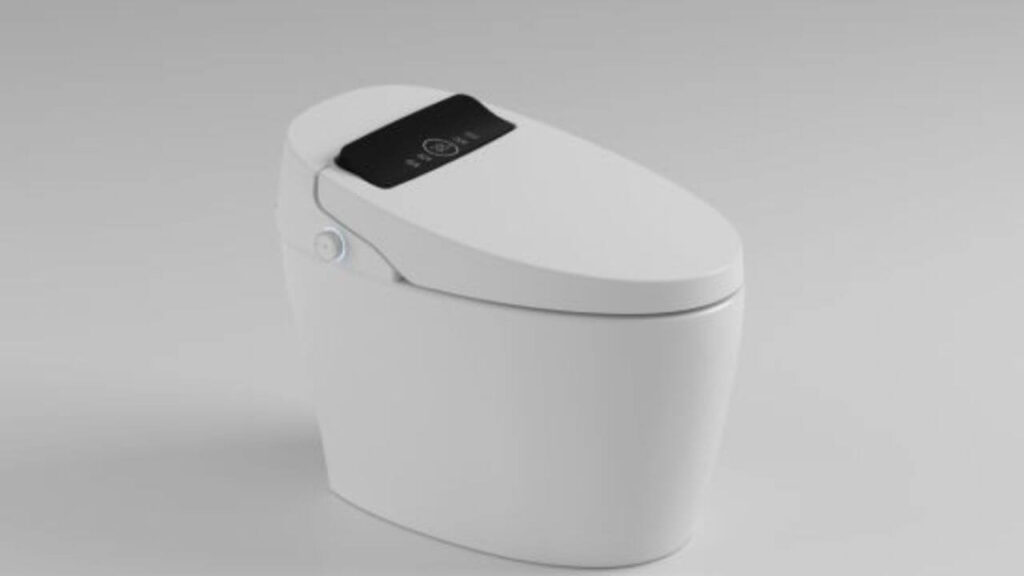
What Is A Tankless Bidet?
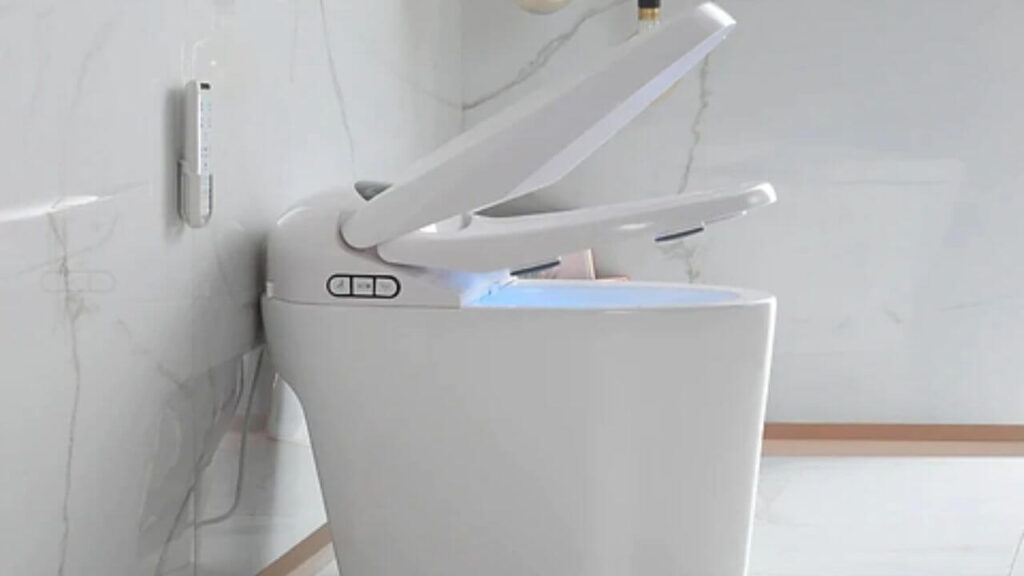
A tankless bidet is a contemporary bathroom fixture designed to elevate personal hygiene standards and comfort. Unlike conventional bidets, which rely on a separate water reservoir, a tankless bidet directly connects to a home’s water supply, streamlining the cleansing process.
This innovative device consists of a seat with integrated water nozzles that emit a precise and gentle water spray for efficient post-toilet cleansing.
Installation typically involves attaching the bidet seat to an existing toilet, utilizing provided hoses, connectors, and mounting hardware.
With adjustable settings for water pressure, nozzle position, and, in some models, water temperature, users can tailor their experience for optimal comfort.
The advantages of a tankless bidet encompass enhanced hygiene, reduced environmental impact through decreased toilet paper usage, increased comfort for individuals with specific health considerations, and an overall modernized and refreshing approach to personal care in the bathroom.
Also Read:
What is Commercial Plumbing | A Comprehensive Guide
What Is A Japanese Toilet | What’s Interesting About It
What Is Bio Toilet | A Comprehensive Guide
Are Bidets Compatible With All Toilets?
Bidets are only sometimes compatible with all toilets, as compatibility depends on various factors, including the type of bidet, toilet design, and plumbing setup. Here’s a detailed explanation:
1. Toilet Design and Shape
Most bidet models, particularly bidet seats and attachments, are designed to fit standard elongated or round toilet bowls.
Measuring your toilet bowl’s dimensions (length and width) is important to ensure the bidet seat or attachment will properly align and install securely.
2. Mounting Space and Clearance
Bidet attachments and seats require adequate mounting space between the toilet seat bolt holes and the back of the toilet bowl.
Some toilets have an unconventional shape or design that might limit this space, making it incompatible with certain bidet models.
3. Water Supply and Plumbing
The availability of a nearby water supply and compatible plumbing connections is crucial.
Most bidets require a standard water supply line, while bidet seats with warm water options may also need an electrical outlet.
Confirm that your toilet’s plumbing setup can accommodate the bidet’s requirements.
4. Seat Compatibility
Some toilets have unique seat designs or features that can interfere with bidet installation. For instance, a bidet seat might not fit properly if your toilet has an integrated seat and cover.
5. Non-Standard Toilets
Non-standard or speciality toilets, such as wall-mounted or corner toilets, might have unconventional dimensions or configurations that make bidet installation challenging or incompatible.
6. Bidet Types
Different types of bidets exist, including standalone bidets, bidet seats, and bidet attachments.
Standalone bidets are typically more versatile in compatibility as they are installed separately from the toilet.
Bidet seats and attachments are more common and have varying levels of compatibility based on toilet design.
Also Read:
How To Use Bidet Toilet In Italy
How Does A Tankless Toilet Work
Does A Bidet Require Special Plumbing?
Bidets generally do not require special plumbing, as they are designed to integrate seamlessly with standard plumbing systems.
Bidet attachments and seats, the most common types of bidets, are engineered for easy installation without significant plumbing modifications. They typically connect to the existing water supply that fills your toilet tank.
Bidet attachments have the necessary hoses and connectors, making the installation relatively straightforward.
Some bidet seats offer warm water options, and while these may require access to an electrical outlet for their integrated water heating system, the electrical requirement is minimal and comparable to plugging in a small appliance.
Standalone bidets, while less common, might necessitate a bit more complex plumbing since they require both hot and cold water connections and a separate drain line.
However, even in these cases, a professional plumber can manage the installation without needing specialized plumbing arrangements.
Always remember, Choosing a bidet model that aligns with your existing plumbing configuration and bathroom layout is important.
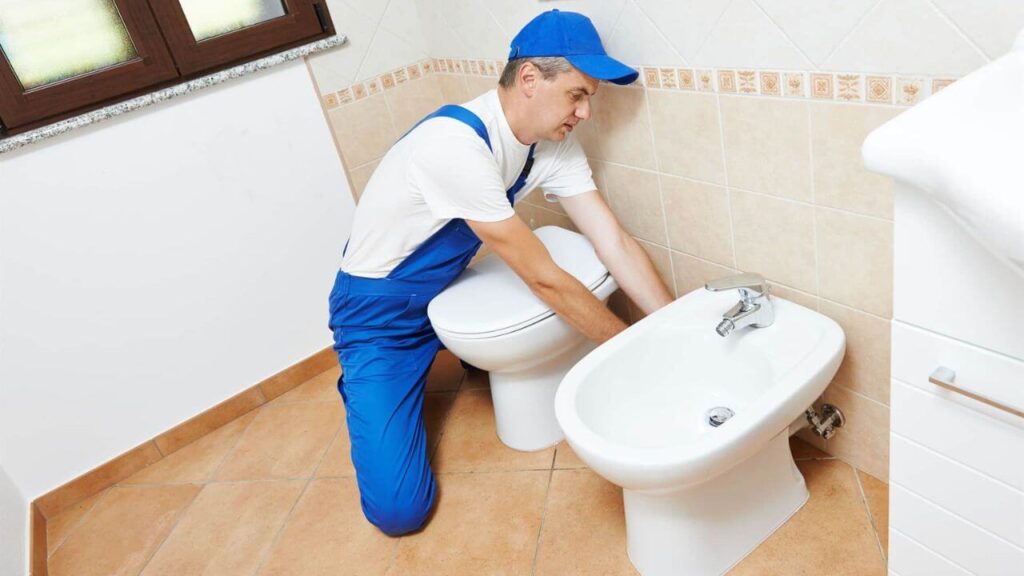
If you have any uncertainties about the installation process or encounter challenges, consulting a professional plumber is prudent to ensure a correct and leak-free setup.
Also Read:
The Difference Between Plumbing And Drainage
How To Improve Toilet Flush Strength? | Flushes With Power
How To Install Bidet On Tankless Toilet
Here we are now at the main topic of this blog. Installing a bidet on a tankless toilet involves a series of steps to ensure a successful and functional integration. Here’s a detailed guide:
Step 1: Gather the Necessary Tools and Materials
Collect all the tools and materials required for the installation process.
This may include the bidet kit (attachment or seat), adjustable wrench, pliers, screwdriver, Teflon tape, and a bucket.
Having everything ready before you start will streamline the process and prevent interruptions.
Step 2: Turn Off the Water Supply
Locate the water shut-off valve behind or near your toilet. Turning it off will prevent water from flowing while you work.
Flush the toilet to empty the tank and bowl of any remaining water. This step ensures a dry work area and reduces the risk of leaks.
Step 3: Remove the Toilet Seat
Use a screwdriver or wrench to remove the existing toilet seat. Unscrew the nuts or bolts securing the seat to the toilet bowl.
Removing the seat provides clear access to the toilet bowl for bidet attachment or seat installation.
Step 4: Prepare the Bidet
If your bidet kit requires assembly, carefully follow the manufacturer’s instructions to put it together.
Attach any hoses, connectors, or additional components with the bidet.
Make sure you understand how the bidet components fit together before proceeding.
Step 5: Attach the Bidet Bracket
Position the bidet bracket under the toilet seat bolt holes for bidet attachments. Secure it in place using the provided nuts or bolts.
The bidet bracket serves as the base for the bidet attachment and ensures a stable connection.
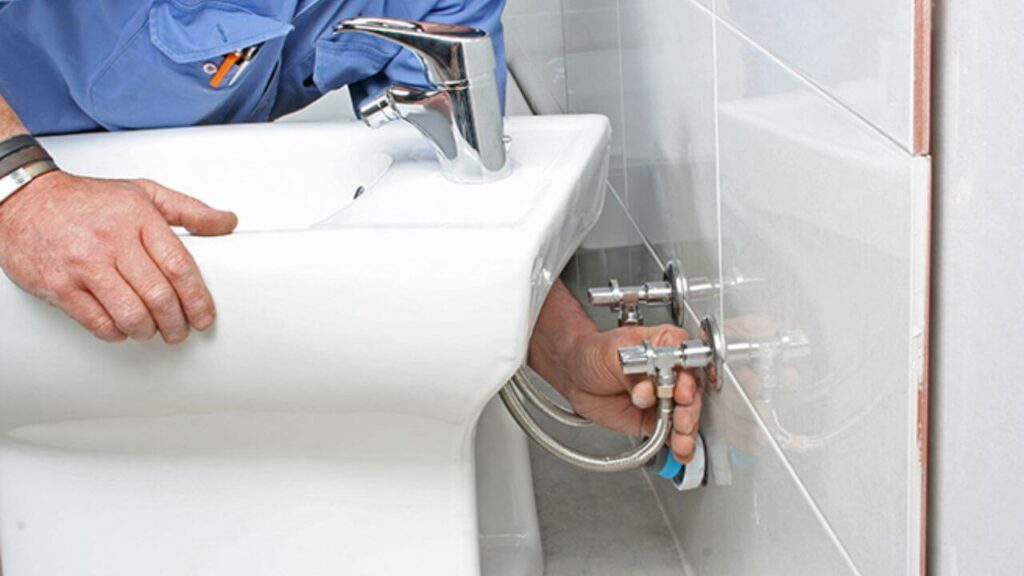
Step 6: Connect Water Supply
Apply Teflon tape to the threads of the water supply valve and the bidet’s water inlet. Teflon tape helps create a watertight seal.
Connect the bidet’s water hose to the water supply valve and tighten it using pliers.
If your bidet has a warm water option, connect the appropriate hoses to the bidet’s hot and cold water inlets, if available.
Step 7: Mount Bidet Seat
For bidet seats, align the seat with the bidet bracket and toilet bowl. Secure the bidet seat in place using the provided nuts or bolts.
Be cautious not to over-tighten, as this could damage the toilet bowl or bidet components.
Step 8: Adjust and Test
Consult the manufacturer’s instructions to adjust bidet settings, such as water pressure, nozzle position, and spray patterns.
Turn on the water supply and inspect all connections for leaks. Adjust the bidet’s position if necessary to ensure proper alignment for effective cleansing.
Step 9: Plug in Electrical (If Applicable)
If your bidet seat has a warm water feature, plug it into a nearby electrical outlet according to the manufacturer’s instructions.
Ensure the cord is safely routed to prevent tripping hazards or damage.
Step 10: Test and Enjoy
Sit on the bidet and test the water spray at a comfortable pressure and temperature. Make any final adjustments to the settings as needed.
Once you’re satisfied with the setup, you can begin enjoying the improved hygiene and comfort that your bidet provides.
Remember, if you encounter challenges or uncertainties during installation, refer to the manufacturer’s instructions or consider consulting a professional plumber for assistance.
Proper installation ensures a functional bidet and prevents potential plumbing issues or leaks.
Also Read:
How Long After Installation Can A Toilet Be Used
How To Flush A Tankless Toilet Without Water | 2 Ways
Common Installation Challenges
1. Finding The Right Extra Parts
One common challenge when installing a bidet on a tankless toilet is ensuring you have all the necessary parts for a successful installation.
Bidet kits often come with standard components, but variations in toilet models and plumbing setups might require additional adapters, hoses, or connectors.
To address this, carefully review the bidet’s specifications and your toilet’s design before beginning.
If you need more clarification, consult the manufacturer’s customer support or a plumbing professional to obtain the correct extra parts, ensuring a proper fit and preventing delays.
2. Making Permanent Alterations To The Property
Some bidet installations may require making modifications to your toilet or plumbing system.
While bidet attachments and most bidet seats are designed for easy installation without permanent changes, standalone bidets might involve more complex alterations.
Cutting or drilling holes in walls or floors for plumbing connections could be necessary. Before proceeding, consider whether you’re comfortable with these modifications or prefer a less invasive bidet option.
If significant changes are required, it’s advisable to consult a professional plumber to ensure proper installation and prevent damage.
3. Confusing Guides And Advice
Navigating through installation guides and advice, especially if they need to be clarified or consistent, can be a challenge.
To overcome this, thoroughly review the manufacturer’s instructions before starting.
If you encounter confusion, search for online tutorials, videos, or user forums where others have shared their installation experiences.
Engaging with a supportive community can provide valuable insights and solutions to common challenges.
If the guidance still needs to be clarified, consider seeking assistance from a professional plumber with expertise in bidet installations.
customer support for guidance.
Also Read:
Tankless Toilet Problems | Is It Residential Home-Friendly?
12 Toilet Flushing Issues And How To Fix Them
How To Stop A Toilet From Sweating | 8 Pro Ways
Bottom Line
In conclusion, installing a bidet on a tankless toilet involves connecting the water supply and seat attachment.
Ensure compatibility, follow instructions carefully, and consider professional assistance if needed for a successful and comfortable bidet integration.